

Watch this 5 minute film to see how to simply and cheaply make your own natural beeswax wraps - to wrap veggies and fruit, leftover bowls, cheese, sandwiches, jar tops, bread loaves, lunchbox snacks and so much more.
Yes, it's a small step, but many small steps, and a sense of commitment to want to make a difference, is more powerful than you may think. When you take positive steps forward, there's a ripple effect of positive change.
For the method shown in the film, all you need is to make your own beeswax wraps is:
- a piece of natural cotton cloth (choose the size you need for your particular use - I find 20cm x 20cm is a useful bowl-top size)
- natural beeswax (about 5-10 grams is all you need for 20cm x 20cm cloth)
- 1/4 teaspoon coconut oil
- flat sandwich hotplate
5 easy steps to make beeswax cloths:
- Trim cloth to size (pinking shears make a nice edge - zigzag)
- Grate 5-10 grams beeswax
- Make a parcel with the wax and wrapped inside the cloth.
- Place parcel on hotplate and press down with sandwich press lid for 10-15 seconds. Check and do again if beeswax still unmelted.
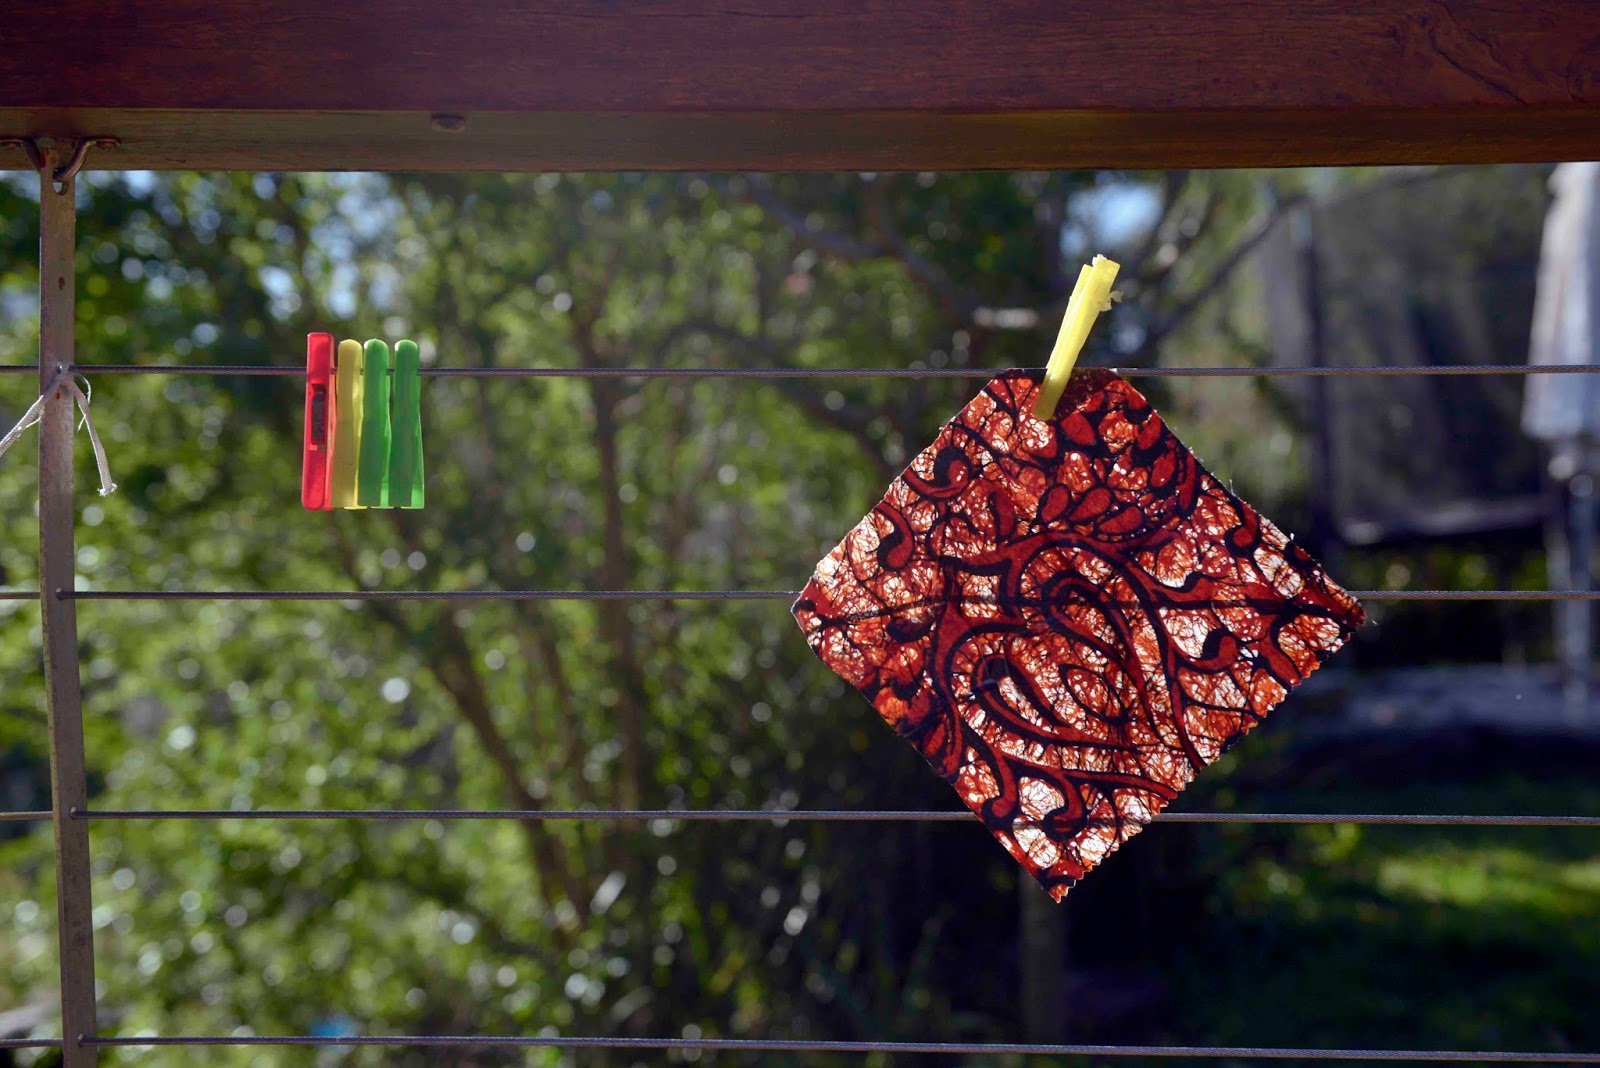
- Lift off hotplate and hang on line for 1 minute (watch out - it's hot!)
That's it! Quick and easy aren't they. I'd thought they were going to be much more fiddly than that.
To wash - simply wipe, rinse off or use warm soapy water - not hot.
To revitalise - after a lot of use, you may wish add a little more beeswax and melt again as above. Helps to keep them sticking well.
Another method: place cloth on a tray in a warm oven. Cover with same quantity of grated beeswax and oil and allow to melt and infuse (about 5 mins in a 50 degree celsius oven). I sometimes use a paintbrush to spread wax to the edges. (You may want a separate old tray to do this on, but you can clean it OK and a little natural beeswax isn't going to hurt).
See a previous post on making beeswax cloths:
Plastic-wrap free food - DIY beeswax cloths

ONE DAY WORKSHOP: Sept 17: DIY Permaculture Home with Morag Gamble
Come and learn in my garden with me - how to make these beeswax cloths, how to make your own laundry detergent and much more. Enjoy a tour of my place and a delicious home cooked lunch. Take home the things you make. BOOKINGS: https://www.eventbrite.com.au/e/permaculture-life-series-the-diy-permaculture-home-tickets-26816855938
fantastic, thanks so much for this simple solution to cling wrap, I was just these past few days wondering what can be used instead.
ReplyDeleteYou're welcome. I love making these and picking my favourite old fabrics too.
DeleteWhat a great idea - thanks!
ReplyDeleteI love my beeswax wraps that I bought over a year ago. I would like to make some more for our family and to give as gifts so this video is great:) I find they really do help to reduce plastic cling-wrap use which is awesome. Meg:)
ReplyDeleteYes, they make excellent gifts, and it's so great to have a supply of all different sizes in the kitchen.
DeleteAwesome Morag, will definitely try this , thanks for sharing.
ReplyDeleteGreat - happy making!
Deletedefinitely going to give this a go, thank you .
ReplyDeleteThanks so much, I tried this in the past using just the beeswax, I will add coconut oil next time, oh and try the sandwich press :) I love the birds in the background and the garden.
ReplyDeleteI tried first without the oil and they ended up like parchment with little sticking power.
DeleteThe sandwich press is a great idea. Thanks. These wraps are great.
ReplyDeleteThanks!
DeleteLove it and can't wait to do it. I don't have a sandwich maker, so do you have any tips on doing it in the oven?
ReplyDeleteHi Veronica, yes you can use the oven. I've a few tips about that written at the bottom of the post and in the linked post. Happy making!
Deleteabsolutely brilliant!! cant wait to try this out - thank you
ReplyDeleteGreat - have fun with it. My kids and I love making them.
DeleteSure, seems to work just fine.
ReplyDeleteWonderful thank you for sharing. Can I ask where you buy your beeswax? I'm just at glass house
ReplyDeleteHi Erin,
DeleteI usually get mine at either Maple Street Coop, through local beekeepers and sometimes when I'm at Northey Street City Farm Organic markets I get it there. You could ask a local beekeeper/beekeeping group and check any local farmers markets around you. Good luck.
Morag
This comment has been removed by a blog administrator.
ReplyDeleteThank you! I have bought some of these in the past, but they're expensive! I already have the ingredients, something to add to my to-do list :-)
ReplyDeleteThanks Morag I just made my first batch of bees wax wraps!!!! Was a bit messy to make but im so proud of myself!! You are amazing Morag and such an inspiration so THANK YOU!!
ReplyDeleteWhat size do you recommend for snacks, sandwiches and lunches? Thanks :)
ReplyDeleteA good size is somewhere around 25-30cm square. Maybe do a trial wrap with a piece of cloth to measure what is best for your type/size of bread.
DeleteMine wrap is not clingy. Any suggestions?
ReplyDeleteThere could be a few things happening:
Delete- not enough wax - I use 5-10gms for 20cm square
- too much oil - for the size above I use 1/4 tsp
- fabric too thick (or thin) - I use a dense but fine cotton - a little like a cotton sarong
- leave your hands on for a few seconds when wrapping - it is the warmth of your hand that melts and seals the wrap around the jar
- you can add some resin which makes it more tacky like cling wrap - I've not used this because I find they are sealing well without, but most commercial brands of beeswax wraps do.
I hope this helps
Hi Morag,
ReplyDeleteI wish I had found your blog and these instruction before trying to make my beeswax wraps! Your method looks so so simple. I was using a "recipe" that used beeswax, pine resin, and jojoba oil. I have been using the oven method but it keeps ending in disaster. Even though I'm using powdered resin, it just seems to form big blobs on the fabric rendering them almost completely unusable. So then I thought I'd try melting the mixture on the stove top and painting it on, which also ended in disaster. So I poured the melted wax/resin/oil mixture into a jar and let it set thinking I'd either have to bin it or figure something else out to do with it later. Just wondering if you know of any other uses for this mixture? I now have a jar of it that smells quite pretty, but other than that I don't know what to do with it.