My olive tree fruited this year for the first time. Earlier this week I noticed the olives were starting to turn black so I harvested them. Mmmmm, now, how to make them edible???
Finally I have olives. I am so delighted after waiting in anticipation all these years. Now I wish I had more trees - I did, but the big male kangaroos knocked them over trying to mark their territory.
What a steep learning curve I have been on for the past few days - exploring how to turn these bitter fruits into delectable table olives. I had a very vague idea, but absolutely no experience. I started asking for help. I want to thank everyone who has so generously shared their experience and knowledge.
Not coming from a tradition of olive growing and never having processed raw olives before, I did what most would do - I googled first. There I found a lot of information, mostly conflicting, so I was still unsure. I then asked for help through my blog and facebook pages and groups.
I am so appreciative of all the suggestions people have sent in to me and the sharing of processing methods. I read all of these instructions carefully, over and over, and was about to embark on what I thought was a sound interpretation, then I received an email from a neighbour - an award-winning organic farmer from Turkey who loves olives and has a grove of 100 trees back in Turkey. Little did I know!
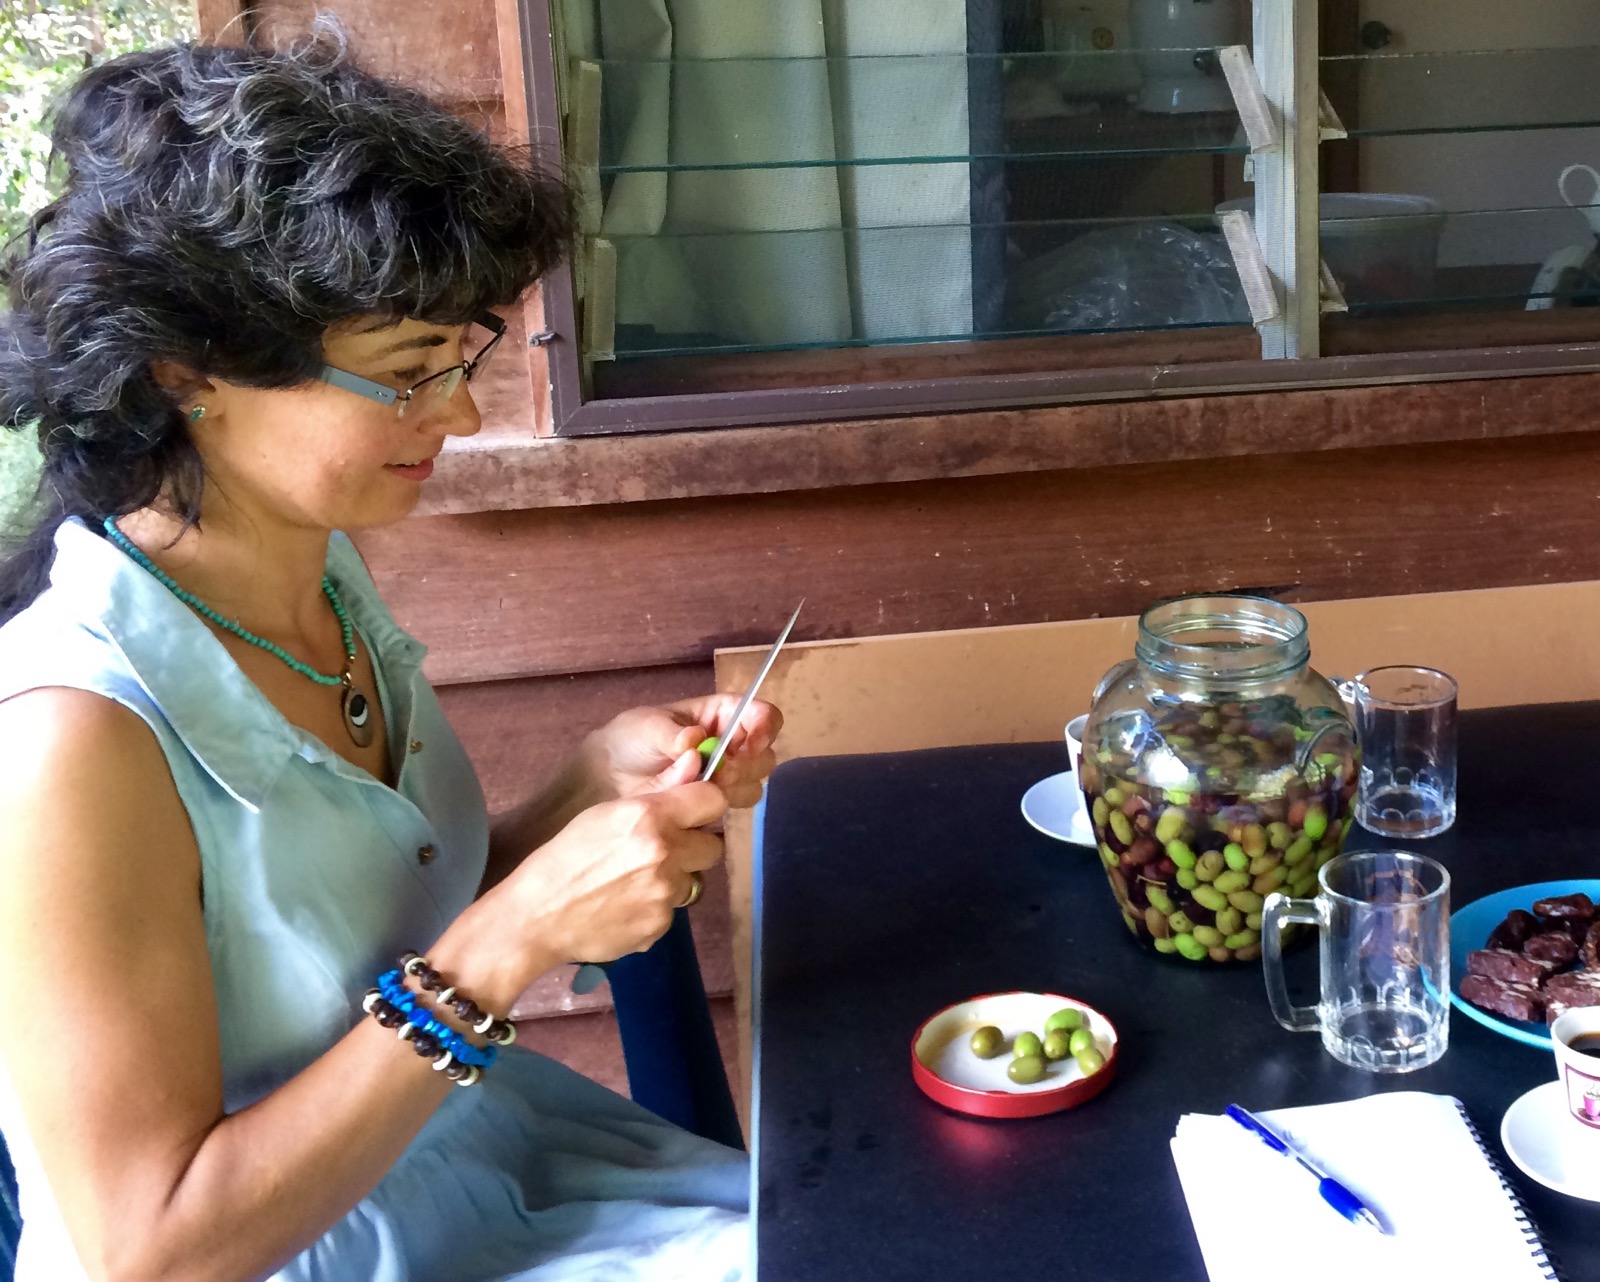
Ayca, my olive mentor, with my jar of olives - ready to be sorted into blacks and greens.
Ayca, (also an Artist, Landscape Architect, Urban Designer) so kindly invited me over to teach me what to do. I am so grateful to her generous sharing of knowledge, skill and love of olives.
Just after lunch today, the kids and I rode over to her place, my jar of olives tightly strapped into the baby seat on my bike - precious cargo. As soon as Ayca saw my jar, I knew I had already gone wrong. She didn't need to say anything .. just the look on her face. I had put all of the olives together and had begun soaking them in water.
So gently and kindly for the next hour, while we sipped black Turkish coffee and ate homemade chocolate treats, she explained and demonstrated to us how she processes table olives.
Lesson 1: separate green and black olives
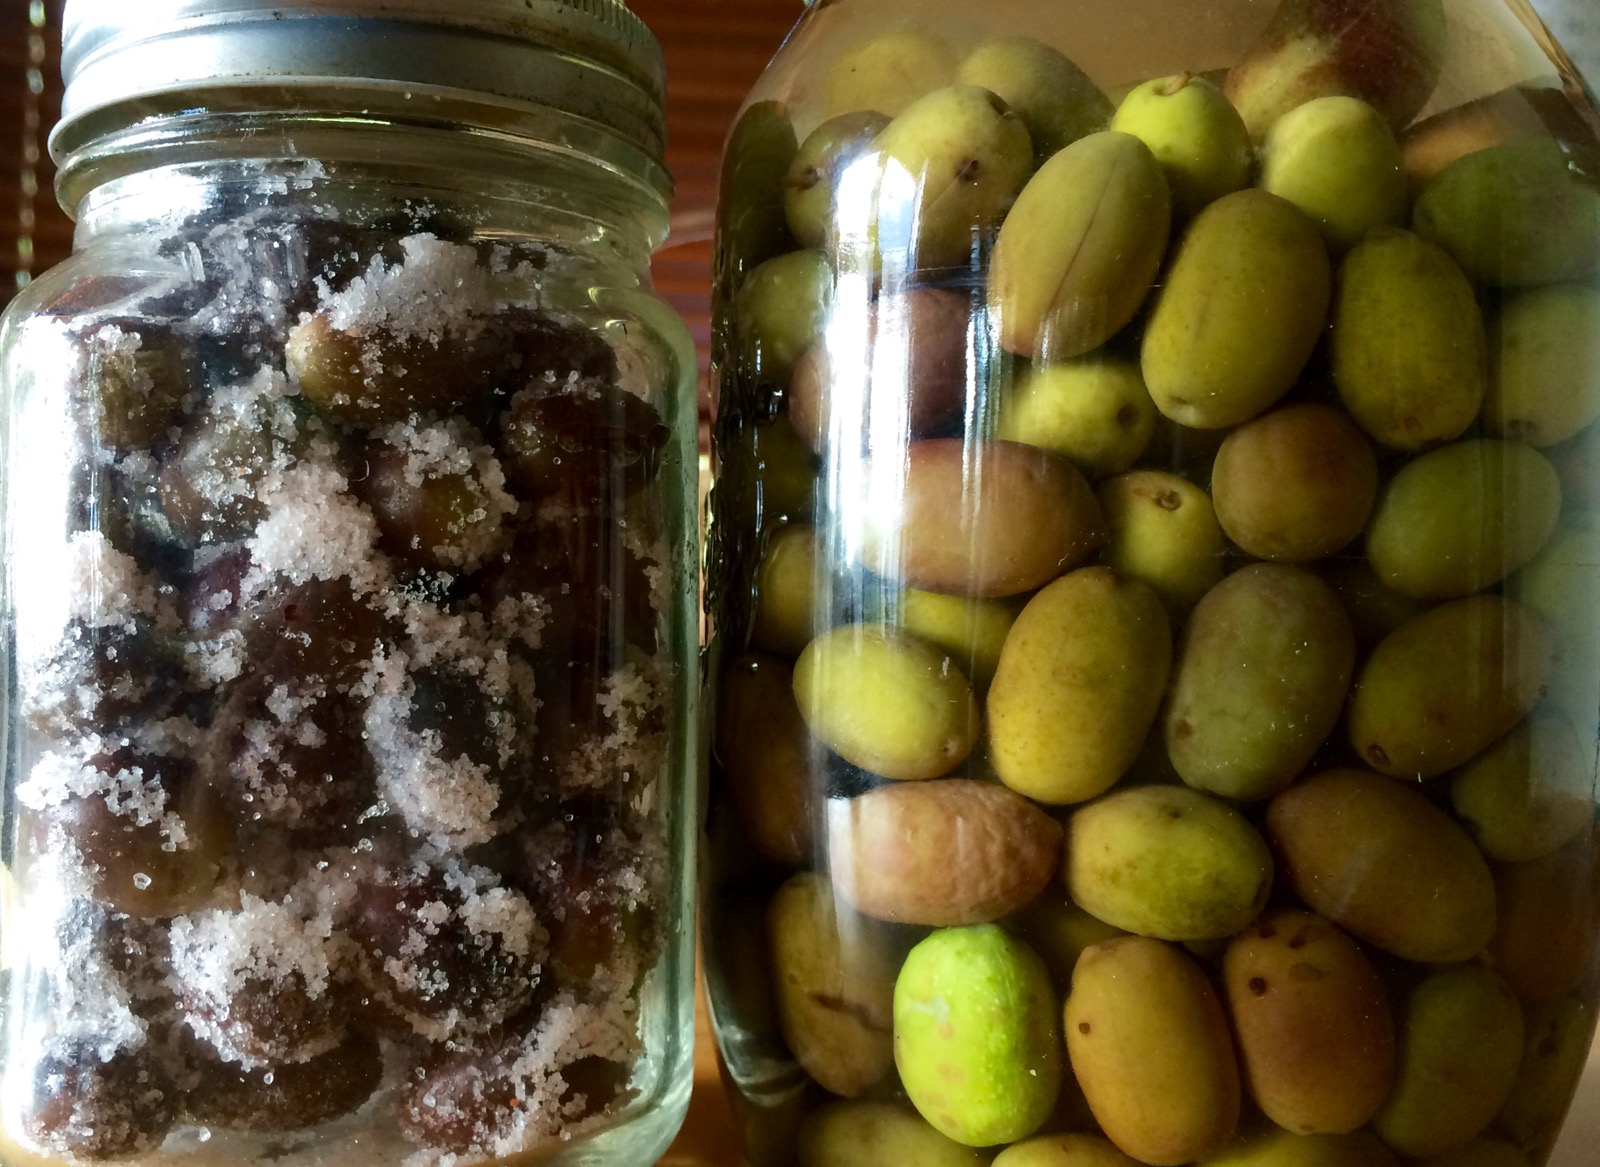
The first and probably most important thing I learnt is that the way to process black and green olives is DIFFERENT. The first step after harvesting is to sort them into two piles - the black olives and the green and green/black olives.
Black olives in rock salt. Green olives in water.
Ayca's instructions on how to process whole black olives
Mix chunky rock salt (not sea salt) with the black olives. (no water added)
The black olives do not need to be cut, pierced or smashed to accelerate the process.
Close the jar and shake.
Shake the jar every couple of days for at least a month.
Drain off any liquid that forms in the jar. It will be bitter.
Keep shaking and draining until the olives taste good to you.
If you like, just before eating, you can add a splash of olive oil or other flavourings - it is not necessary to steep in the oil.
NB: Where I went wrong with the black olives ... soaking black olives in water will cause them to rot quickly.
Ayca's instructions on how to process green olives
Ayca demonstrating how to process the green olives before putting into water.
Take each green olive and score the skin lengthwise (from end to end) 3 times with a sharp knife - 4 times if they are really big.
Place prepared olives in a jar and completely cover with fresh water
Change the water every 2-3 days when it becomes yellowy. Do this for 7-10 days until the taste is good for you (longer if they still taste too bitter).
Transfer olives into brine for 3 weeks. Ayca said she measured the salt:water ratio by the taste. She doesn't need a measure, her tongue just knows. I'll have to ask her tongue when I get to this stage. The key point here - it does need to be very salty. Someone else suggested enough to float an egg.
A delicious variation Ayca suggested was to place a few slices of lemon on the top of the jar of salted olives, just under the lid .
When the olives are ready, you can eat these straight from the jar, or you can soak them overnight in water to reduce the saltiness.
Similar to the black olives, just before eating you could add a dash of olive oil or other flavourings. Again it is not necessary to steep in the oil.
NB: Where I went wrong with the green olives ... I didn't slice the skin before soaking. They will take much long to lose their bitterness.
I also learnt that you need about 8-9 kg of green olives to make 1 litre of olive oil, and about 7kg of black olives to make oil. Ayca says she can get 50 kg off just one of her trees - that's a lot of oil!
I asked Ayca about pruning too, because I had heard somewhere that olives needed to be pruned hard to produce. She does not prune her trees, only if there is some dead wood that needs to be removed and they produce abundantly. She feels it is better if the tree finds it's own natural form.
I was curious too about making olive leaf extract - neither of us had an idea what to do but want to find out. This is my next olive quest.
While we were visiting our neighbour, who manages the Crystal Waters Ecopark (camping/van/cabin area) she took us for a walkabout to see her artistic additions to the landscape and shelters.
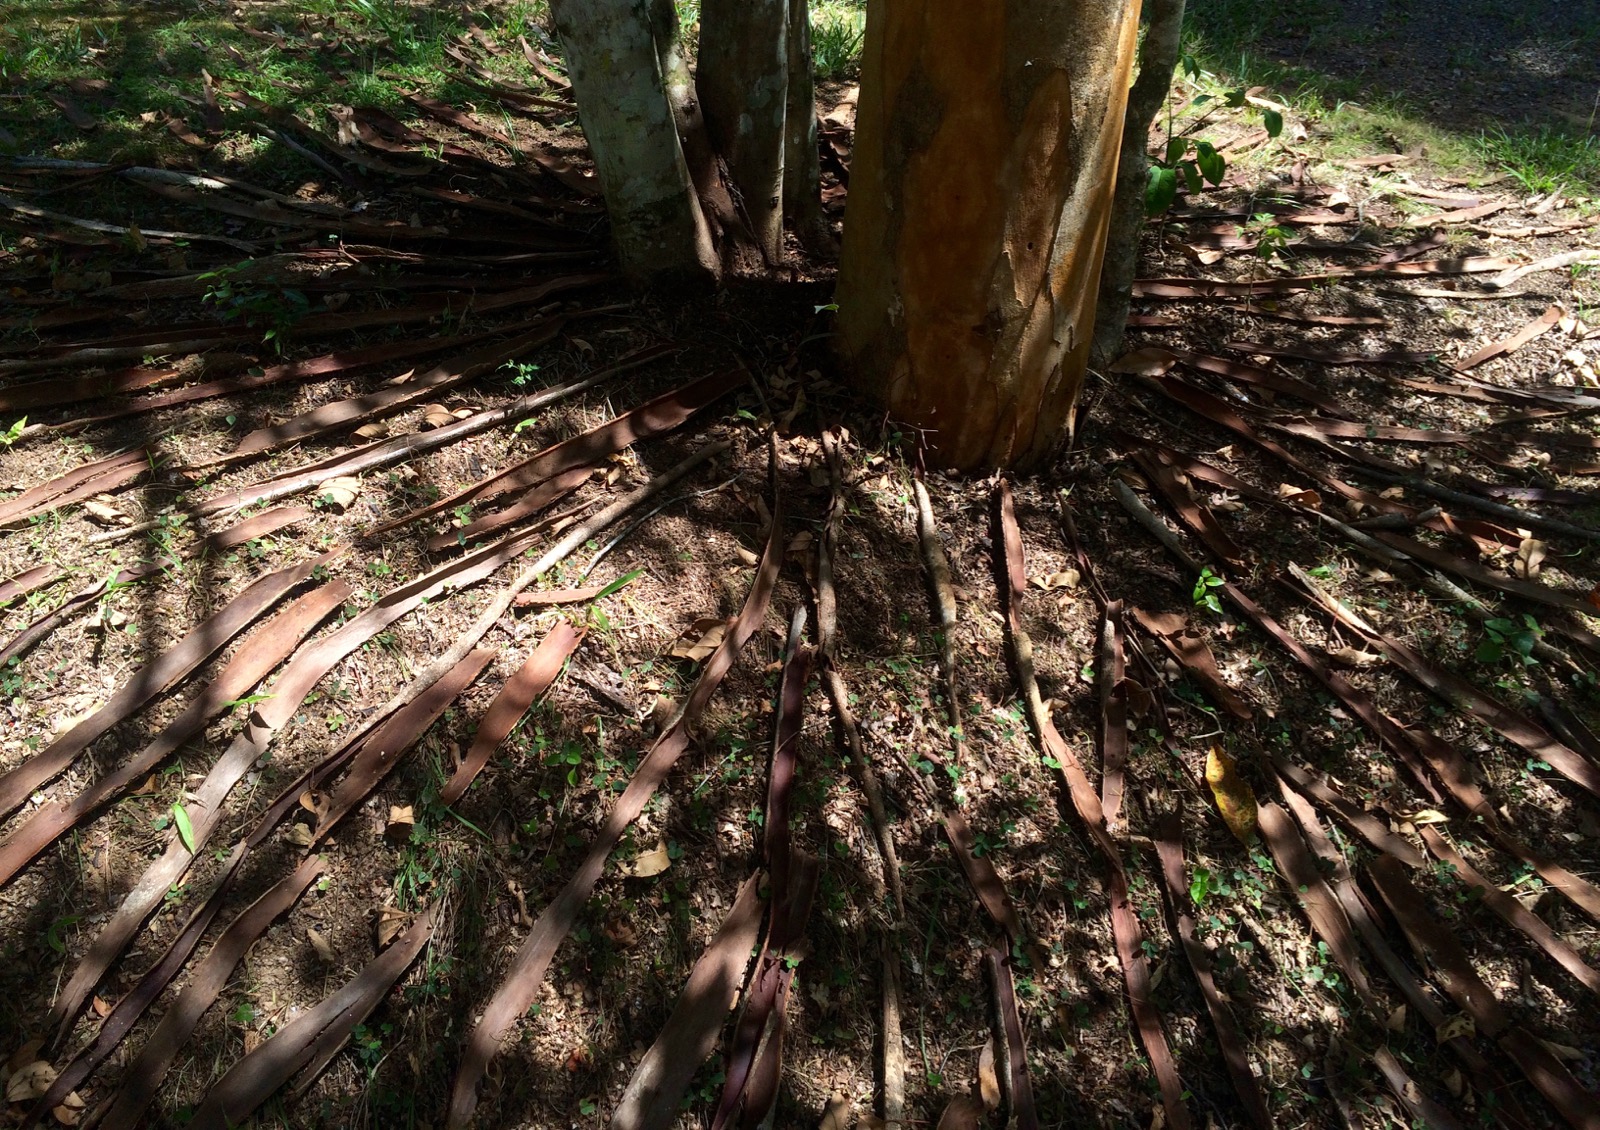
Over the past couple of months had noticed a few trees around these parts of Crystal Waters shedding their bark very strangely, so impossibly neatly. It was another of Ayca's nature-art installations.
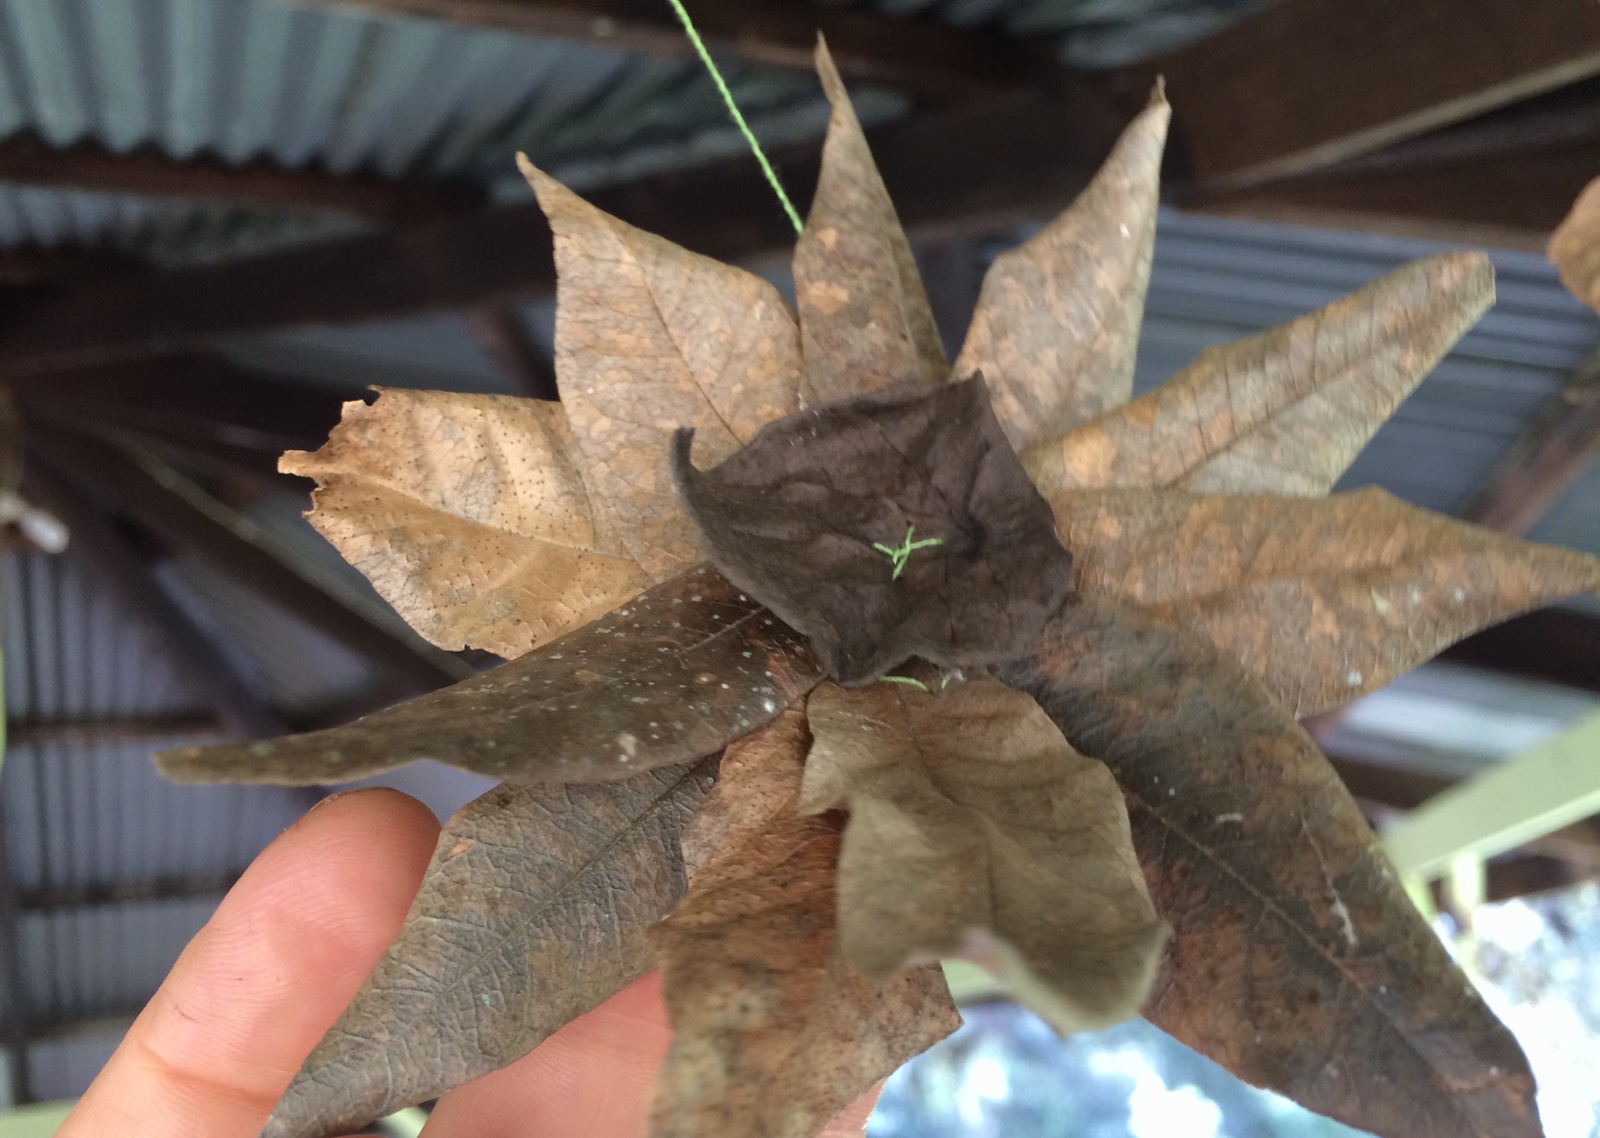
A gorgeous array of sewn leaf ornaments dance in the wind around the camp kitchen.
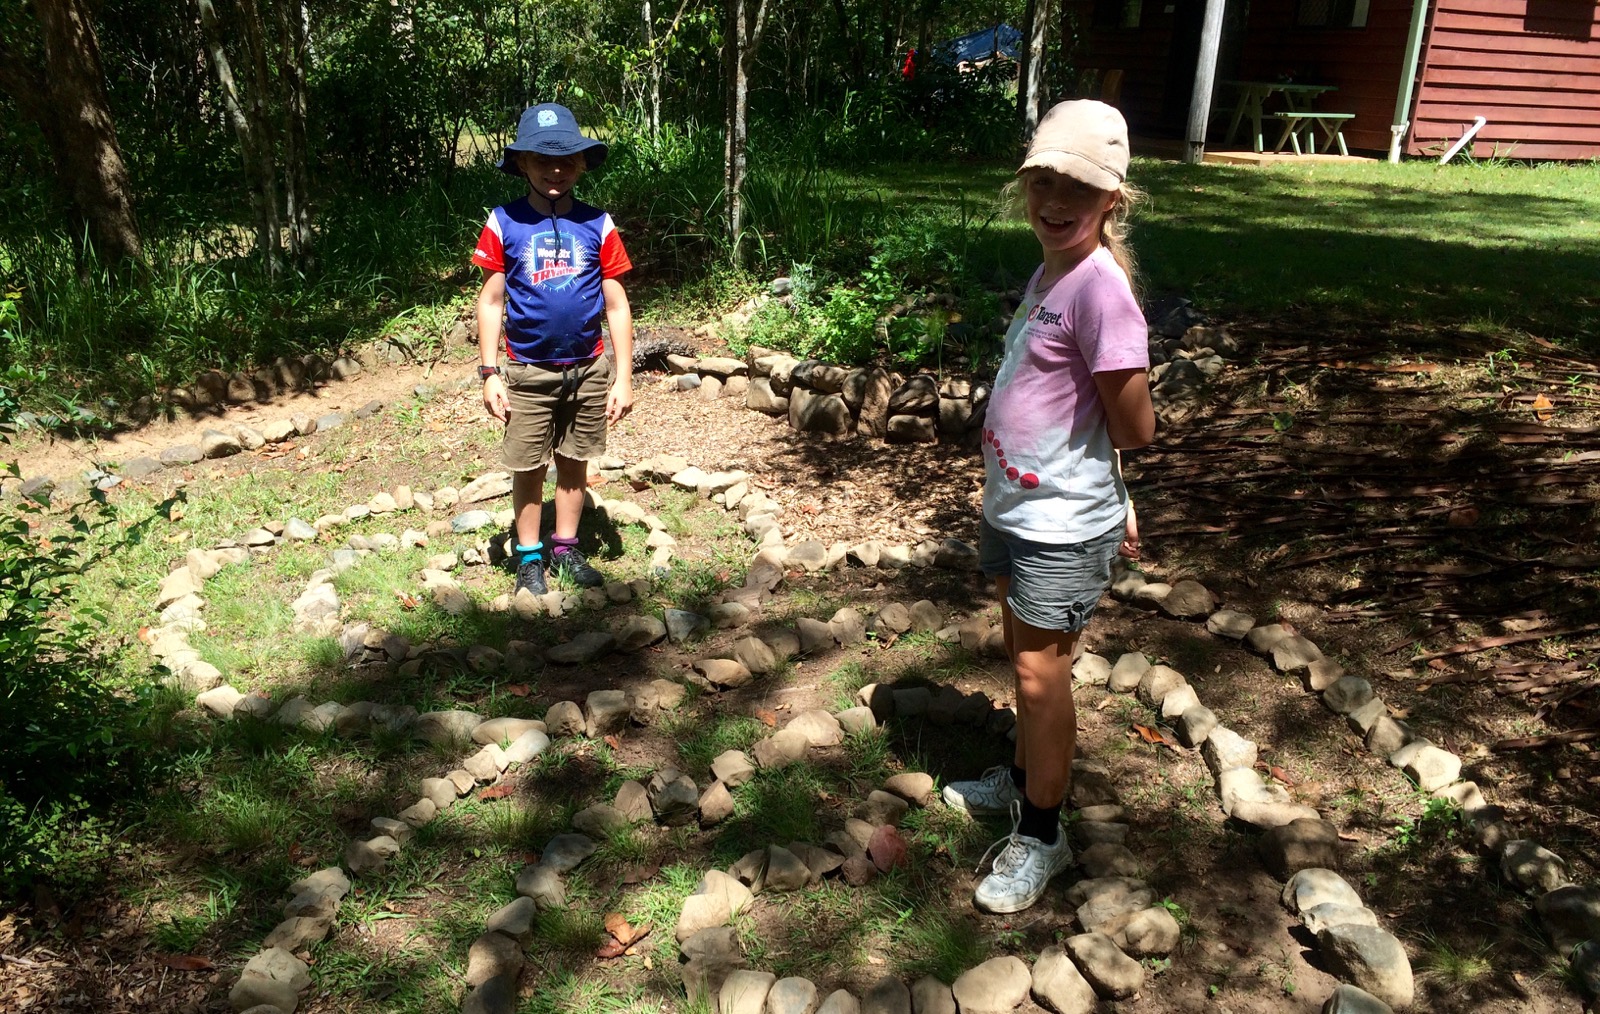
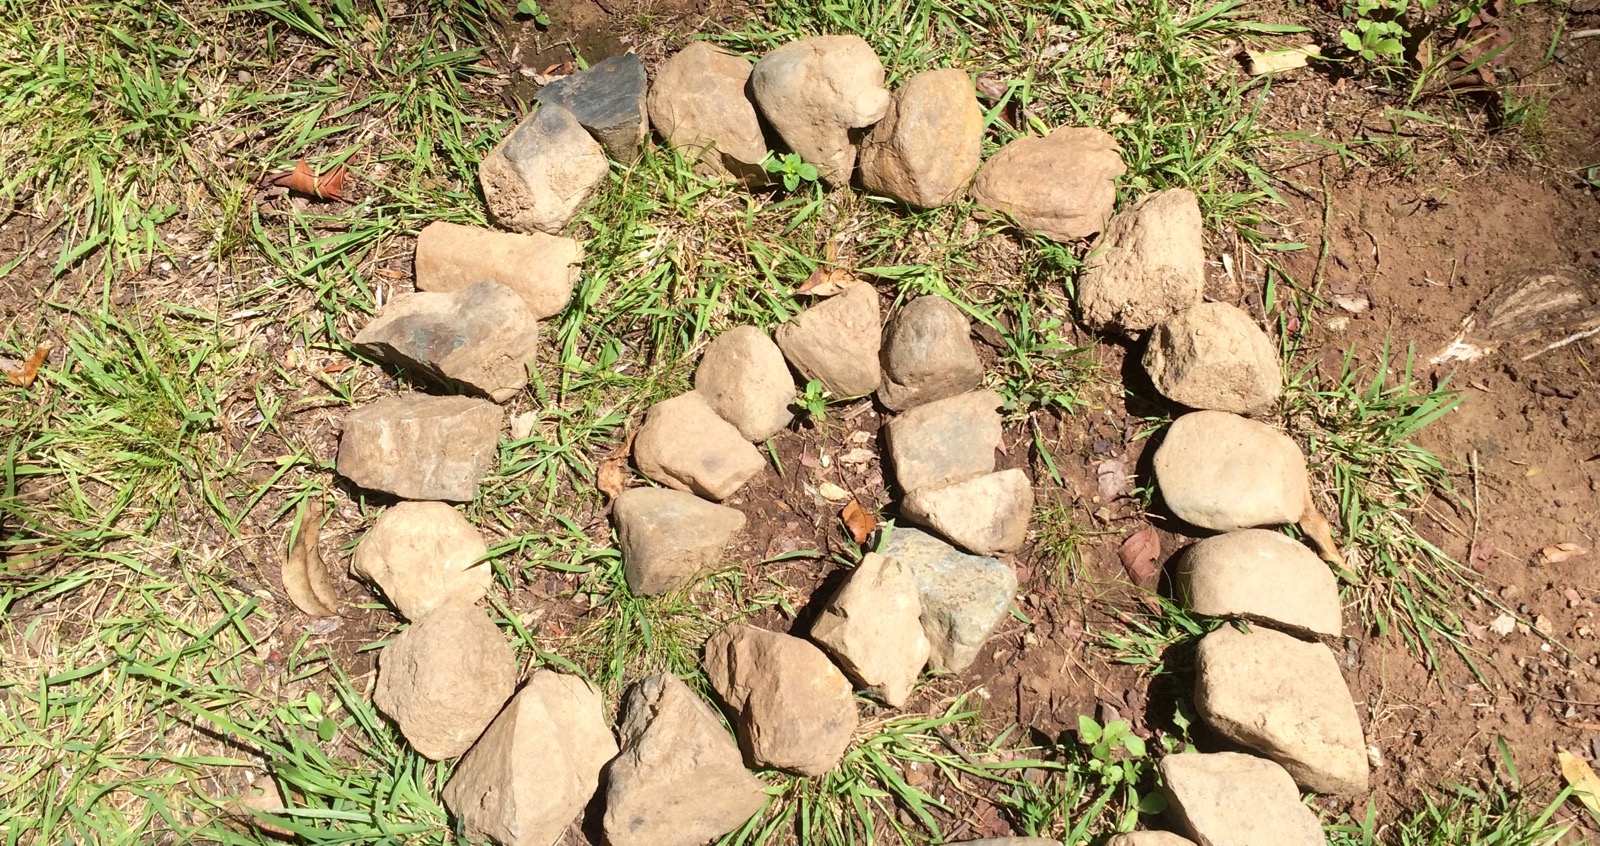
Ayca has created lovely double spiral to walk through next to the campsites and herb garden.
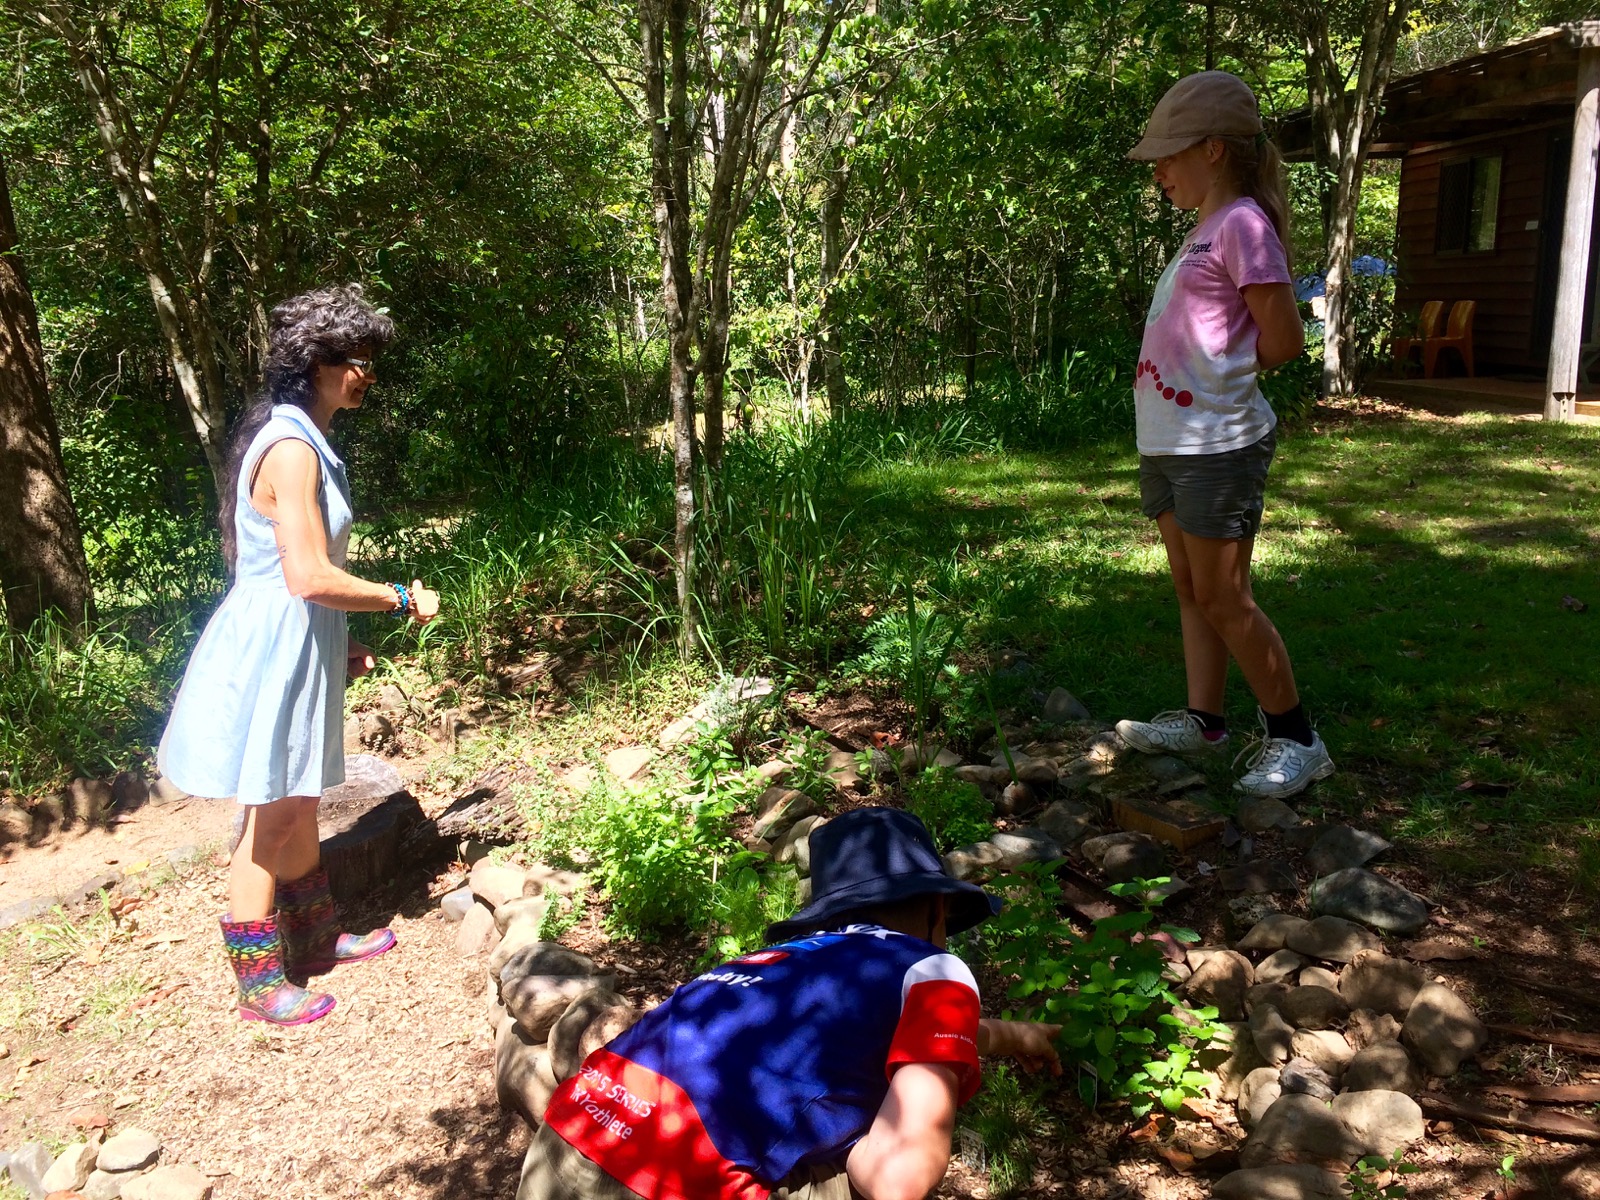
New herb garden for the visitors to use. Ayca tests Maia and Hugh's knowledge of the plants. We were both impressed!
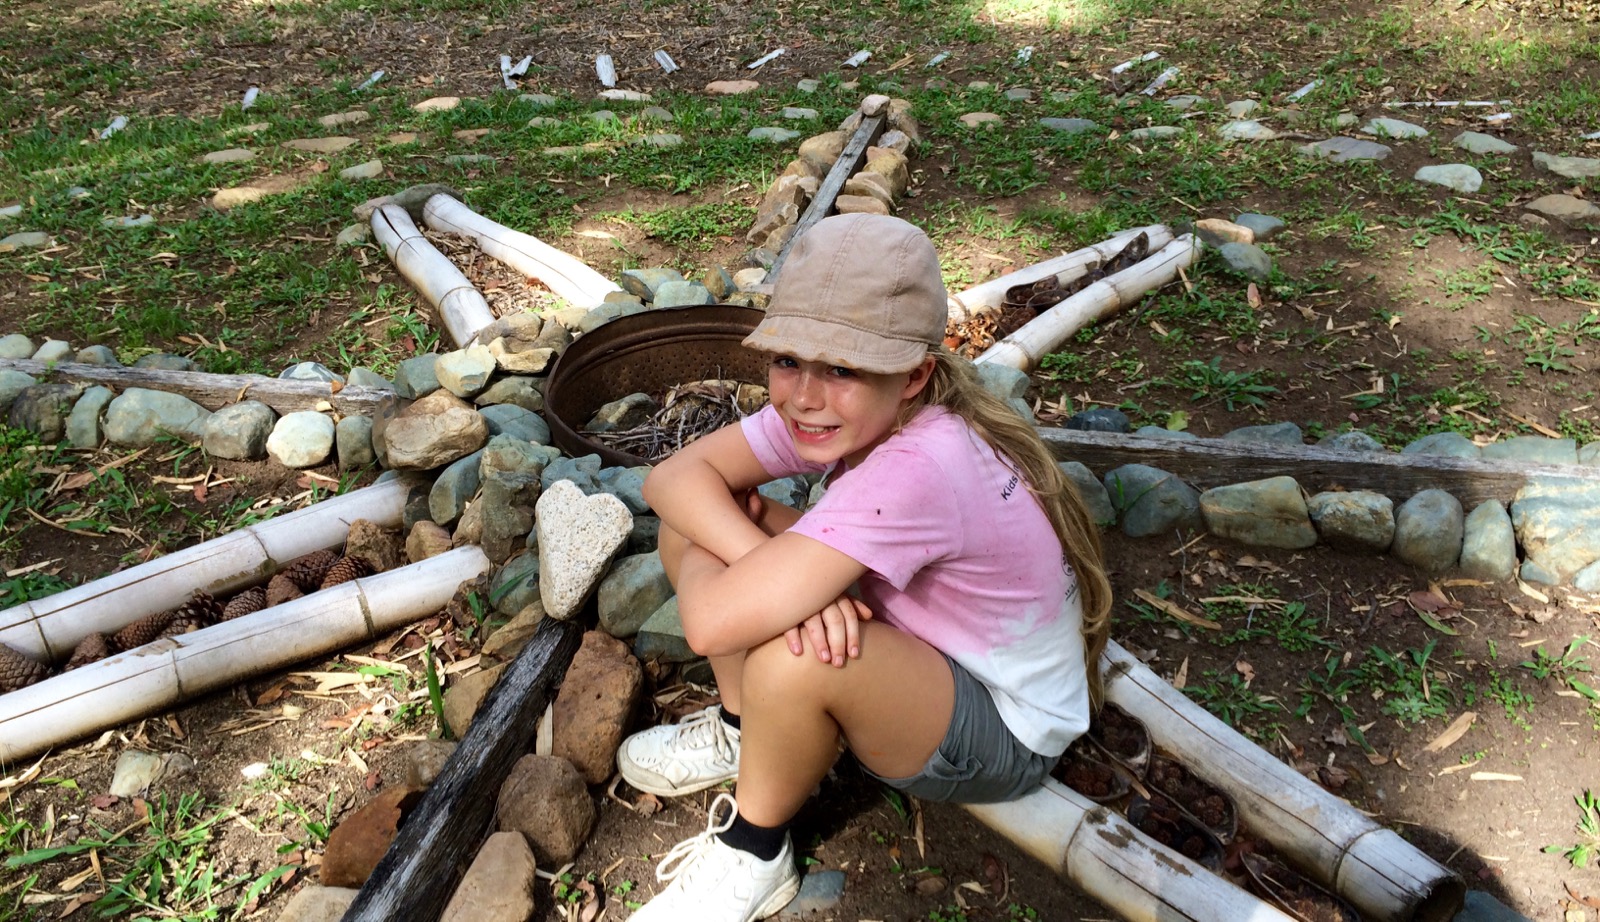
Maia loved Ayca's ritual circle - a special meeting place made of found and natural materials with a fire pit in the centre (from an old washing machine tub). The arrows point to the North, South, East and West.
Later that day, at the community tree planting, I found Maia busy working away under a tree making her own little ritual circle. A leaf to the north, twigs to the south and grasses east and west.
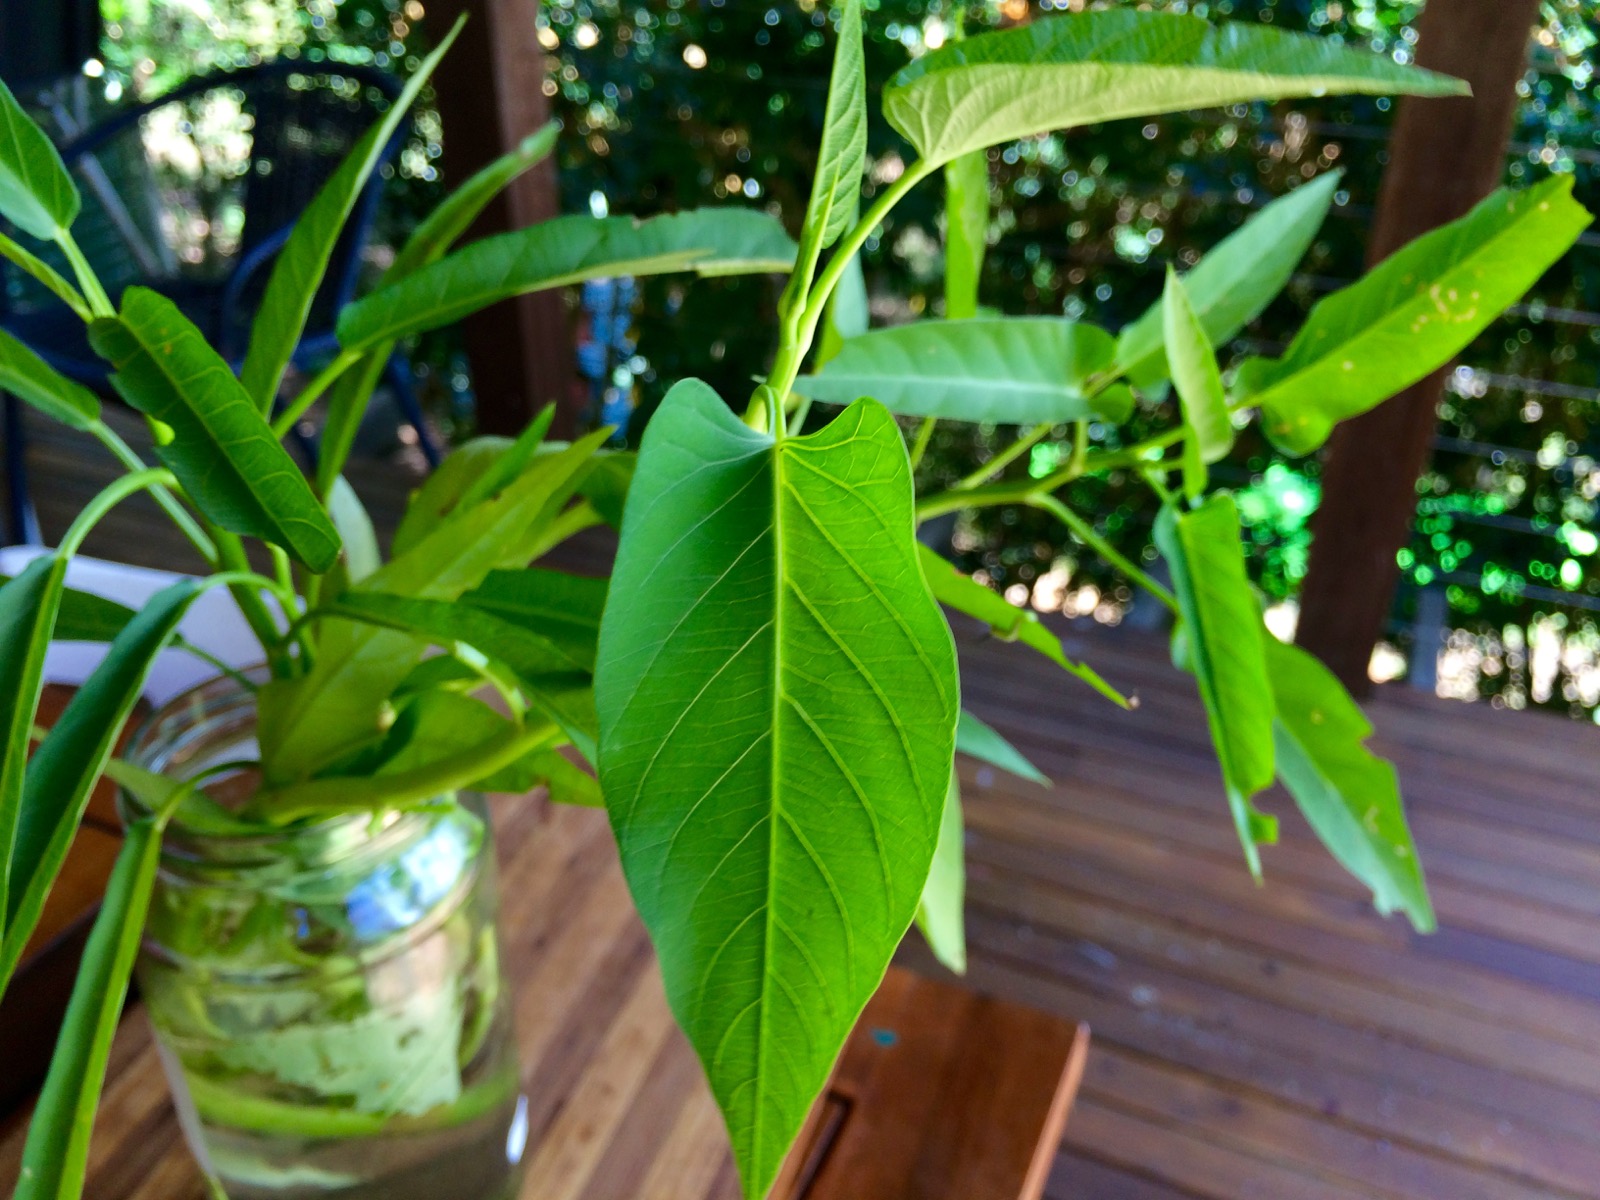
Earlier in the day, we visited another neighbour who offered a cutting of her kangkong and a grand tour of her established food forest. Thanks Amber! The kids learnt so much seeing another Amber's garden - going on visits is a great way to explore design and see the various ways people implement permaculture systems. Thanks too to Ayca for a couple more snips.
Kang kong cuttings - soon to go in the sunken bath pond in my hugelkultur area.
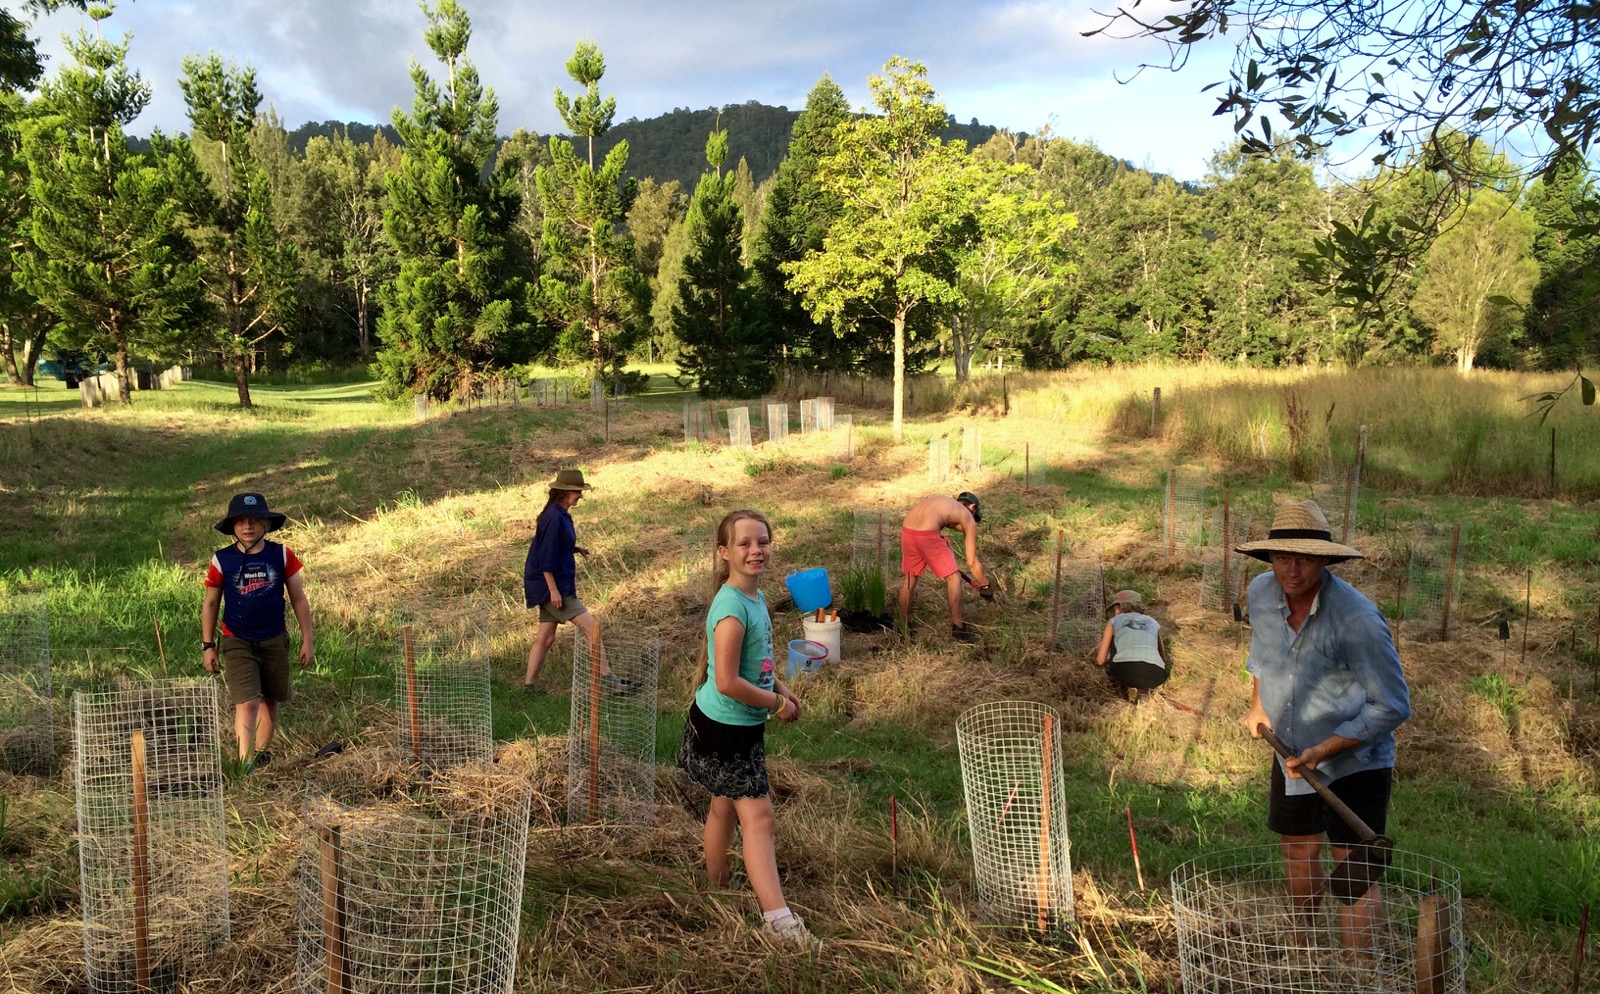
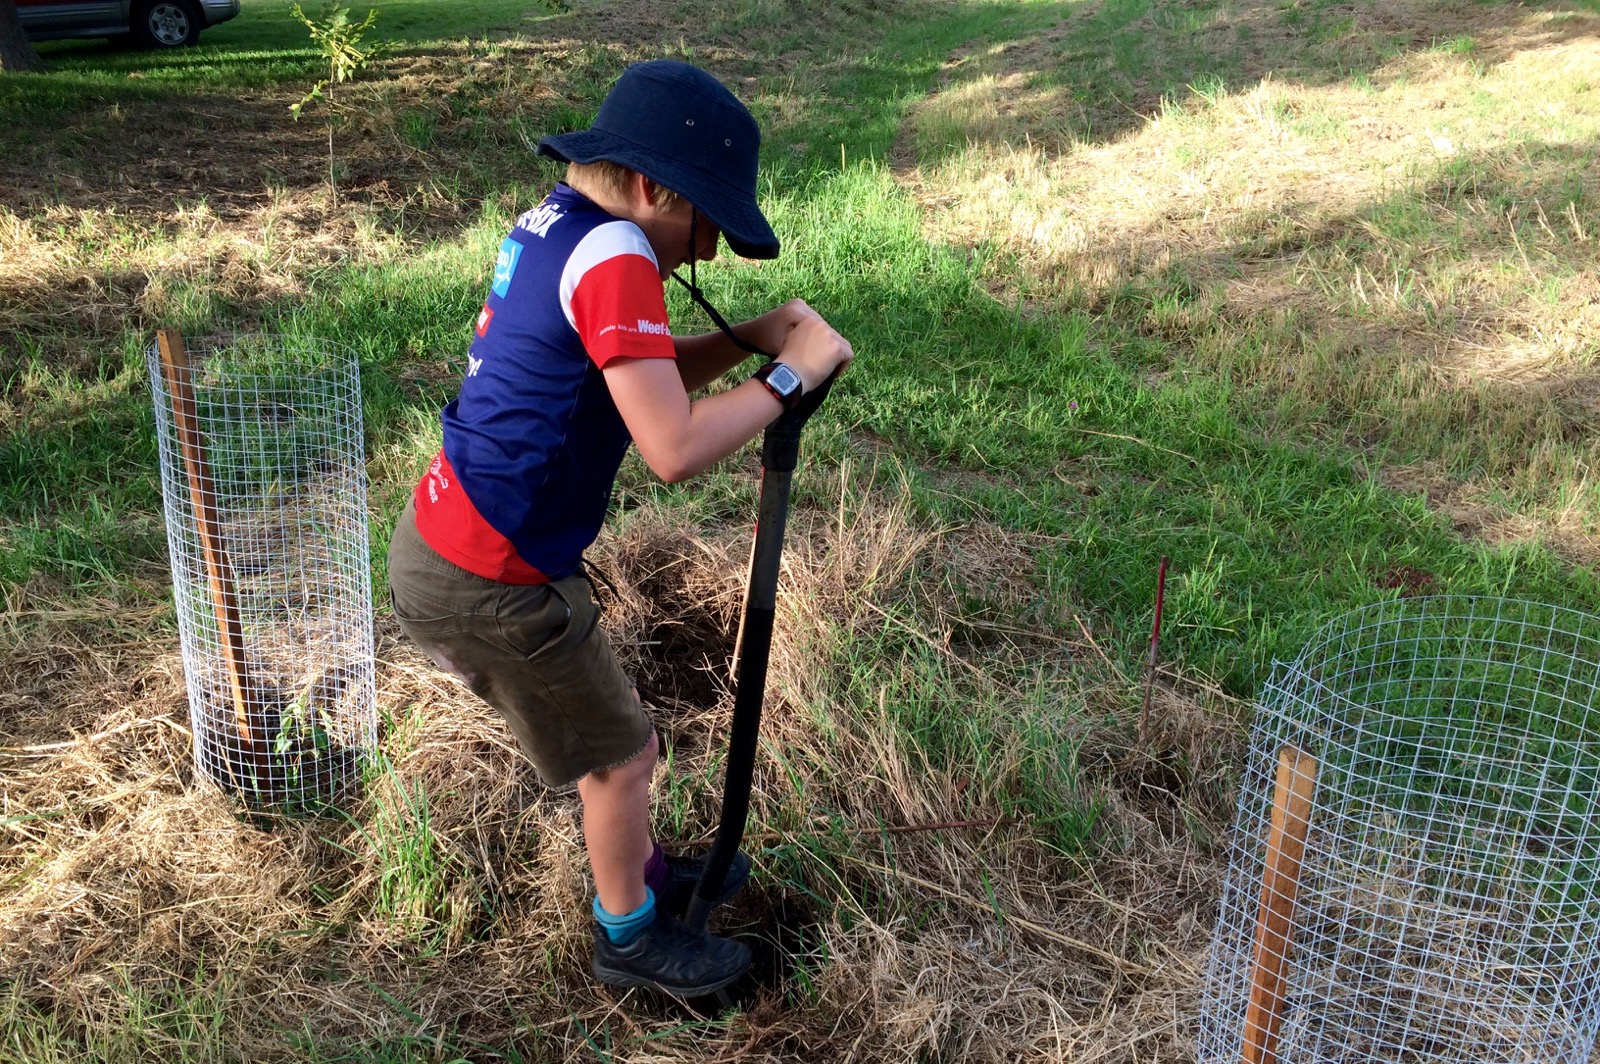
We ended the day on the village green tending to the new children's planting of native trees to create a shady corridor to the swimming hole, and adding more plants.
All in all, a great day of learning for us all. I love homeschooling!
Checking the new children's native planting done last weekend and adding mulch and extra plants. Maia raised money for this project at her Owl's Den cafe a couple of weeks ago.
The ground was much softer today after all the lovely rain. Hugh dug a lot of holes!